
Stage Guides
| Booster Forest |
|---|
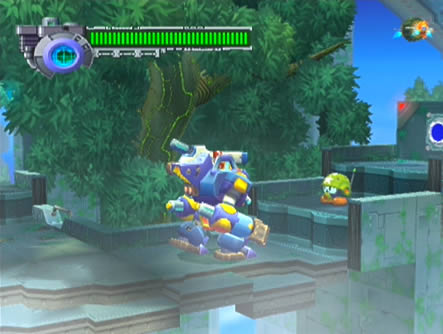 Set within a pleasant forest path slowly ascending to a giant rocket center facility, this stage will give you the opportunity to use the Chimera Robot Ride Armor so be sure to take advantage of it. Follow the path ahead at the entrance to find two large crates. The first grey crate can be easily destroyed, but take note that the second (sporting a bluish color) can only be destroyed with Ride Armor. Carry on past them and take out the Metool ahead. Further on you'll find another Metool sitting in front of a different crate. Set within a pleasant forest path slowly ascending to a giant rocket center facility, this stage will give you the opportunity to use the Chimera Robot Ride Armor so be sure to take advantage of it. Follow the path ahead at the entrance to find two large crates. The first grey crate can be easily destroyed, but take note that the second (sporting a bluish color) can only be destroyed with Ride Armor. Carry on past them and take out the Metool ahead. Further on you'll find another Metool sitting in front of a different crate.From a safe distance you'll want to shoot this crate already, as once destroyed these ones release a latent explosion. Move on and take care beyond the next few blue crates as you'll be greeted by an enemy Robot Ride Armor. It's possible to destroy the pilot while saving the armor, but for now you won't need it so concentrate your fire on the armor itself. At the apex of the conveyer belt ahead you'll find an empty Chimera Armor waiting, so jump on in and take it for a spin. With this hulking Ride Armor you'll be able to to destroy the blue crates with a single punch, as well as perform a few standard attacks and handy jumping techniques. 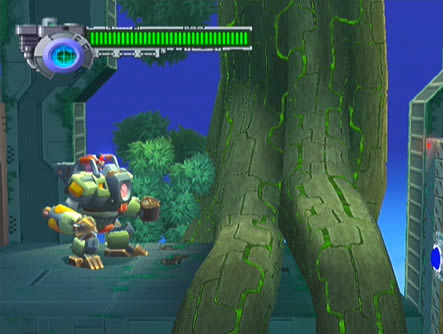 For now if you wish there's two yellow Metals and a single red Metal you'll have passed earlier blocked by two crates, once ready continue on around the next corner. Take out the Metool and two floating turrets (their shots harmlessly bounce off the armor) and park the armor atop the platform marked out by the yellow-and-black trim. Shoot or slash the blue switch nearby to raise the platform, then you'll be clear to move on with the armor. For now if you wish there's two yellow Metals and a single red Metal you'll have passed earlier blocked by two crates, once ready continue on around the next corner. Take out the Metool and two floating turrets (their shots harmlessly bounce off the armor) and park the armor atop the platform marked out by the yellow-and-black trim. Shoot or slash the blue switch nearby to raise the platform, then you'll be clear to move on with the armor.Carry on and watch out for the Reploid toting a flamethrower ahead (press Special Weapon to launch an energy ball to stun it). Head around the water fountain and up the conveyer belt all the while taking out enemies along the way. You'll find a spike bed at the top, walk on over it and you'll be fine. Carry on and watch out for multiple enemies including another Ride Armor. Once you reach the edge of the platform, jump out and destroy the flamethrower-weilding Reploid before taking the armor across. Use the armor's air dash to clear the following pits and you'll soon find yourself in an enclosed area with a spike-riddled conveyer belt. Clear the enemies out and walk over the spikes until the armor can't go any further due to the floating platform. Jump out of the armor and onto the platform, you'll see the armor retract and easily fit through the gap. Destroy the Metool and wait for the armor to emerge on the other side before jumping back in. Quickly jump over the next pit and go through the door there. 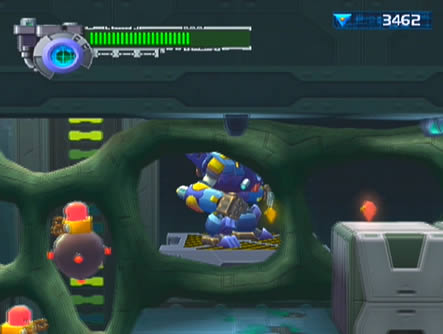 Inside you'll face several enemy Robot Ride Armor. Time your punches to take them out with with two hits each, eventually they'll stop coming and you'll be rewarded with some items. Cross the room and exit through the right door. Outside you'll encounter a pair of red Bulbrites carrying a large bomb each. Try to avoid walking beneath them as they'll drop the bombs which produce latent explosions much like the explosive crates. Take them out with a single hit each and move the armor onto the raisable platform ahead (note that the Foot Parts I capsule resides above here). Jump out and hit the switch to raise the platform, then proceed onward after taking out the enemy Robot Ride Amor. Inside you'll face several enemy Robot Ride Armor. Time your punches to take them out with with two hits each, eventually they'll stop coming and you'll be rewarded with some items. Cross the room and exit through the right door. Outside you'll encounter a pair of red Bulbrites carrying a large bomb each. Try to avoid walking beneath them as they'll drop the bombs which produce latent explosions much like the explosive crates. Take them out with a single hit each and move the armor onto the raisable platform ahead (note that the Foot Parts I capsule resides above here). Jump out and hit the switch to raise the platform, then proceed onward after taking out the enemy Robot Ride Amor.Here you'll find two lifts above a large pit, regardless of which you jump on the weight of the armor will push it downward. Stand on the first one to cause the other to ascend slightly, then quickly jump onto it and over to the platform on the right. Destroy the crate there to score yourself a purple Metal. Jump back onto the lift and ride it down to the base of the shaft. Here you'll have a choice of two paths, one of which is blocked by two blue crates, so you'll need the armor to penetrate them. Both paths lead through areas filled with spiked conveyer belts and ultimately lead to the same destination, but you'll need to take the top path to ensure safe passage for the armor. Upon reaching the end of this area, you'll find a large room filled with a multitude of normal, blue and explosive crates. Take care as you won't be able to reach the door up above with the armor if all the crates are destroyed (you can also reach Booster Forest RM#02 from here but you'll need X's Crystal Wall). Use the crates emerging from the hole in the wall while on the conveyer belt to reach the platform, then jump up and punch the middle crate once. The resulting chain reaction should destroy enough crates to produce a makeshift staircase leading up to the door. 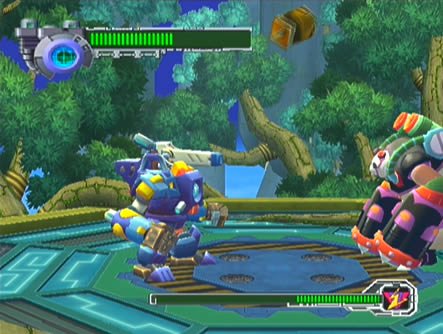 Be careful when jumping on top of each crate, you'll need to land on the very edge of each otherwise the armor will crush them with its weight. Don't worry if you lose the armor, it mostly proves more convenient than vital. Beyond the door you'll find another room filled with enemy Ride Armor, so clear them out and grab all the items before leaving (it's worth coming back here once you've got Axl's Ray Gun, you'll be able to rack up insanely high combos here). Be careful when jumping on top of each crate, you'll need to land on the very edge of each otherwise the armor will crush them with its weight. Don't worry if you lose the armor, it mostly proves more convenient than vital. Beyond the door you'll find another room filled with enemy Ride Armor, so clear them out and grab all the items before leaving (it's worth coming back here once you've got Axl's Ray Gun, you'll be able to rack up insanely high combos here).Once outside head around the corner and go inside the next cavernous room. Jump on the lift and quickly destroy the bomb-holding Bulbrite. If you've still got the armor, wait until you've lowered enough to grab the procession of Metals then jump across to the second lift. Air-dash over to the platform and carry on (here you can also find Booster Forest RM#03 with help from Axl's Copy Shot, but you also need the armor). If you do have the armor, leave it on the conveyer belt and jump out, you'll soon see it land on a platform which takes it through a lift in the background. Ascend the narrow shaft but watch out for alternating Bulbrites dropping bombs down from above. Once at the top head right and take out the enemies there quickly so you can catch up to the armor. Eventually the lift will bring the armor out of the background, quickly jump in and leap over the pit it'll be perched over. Ahead you'll face an enemy Robot Ride Armor before discovering another room filled with crates. The door across the room leads to the bosses' room, so simply head over there if you've lost the armor. If you've still got the armor, jump up and punch the middle crate to lower the explosive one above it down. Jump and punch the explosive crate, then carefully jump on top of the first blue crate and destroy it. Jump on the adjacent blue crate without destroying it, then very carefully jump straight up and punch out the normal crate sitting atop an explosive one. If performed correctly you'll have created a neat staircase. Climb up by jumping on the very edge of each crate to reach the door, then head inside to find an elevator leading up to Bamboo Pandamonium's arena. |
| Mission select | ||
|---|---|---|
| 1. Noah's Park 2. Booster Forest 3. Troia Base 4. Pitch Black |
5. Primrose 6. Metal Valley 7. Dynasty 8. Central White |
9. Inferno 10. Jakob 11. Gateway 12. Sigma Palace |